Most hardware products don't fail on the idea. They fail on a decision made six months too late. A mistake in software costs you a sprint; in hardware it costs you a tooling run, a production batch or your seed round. Here are the eight steps of product development in the order they need to happen, with what each one takes in time and money.
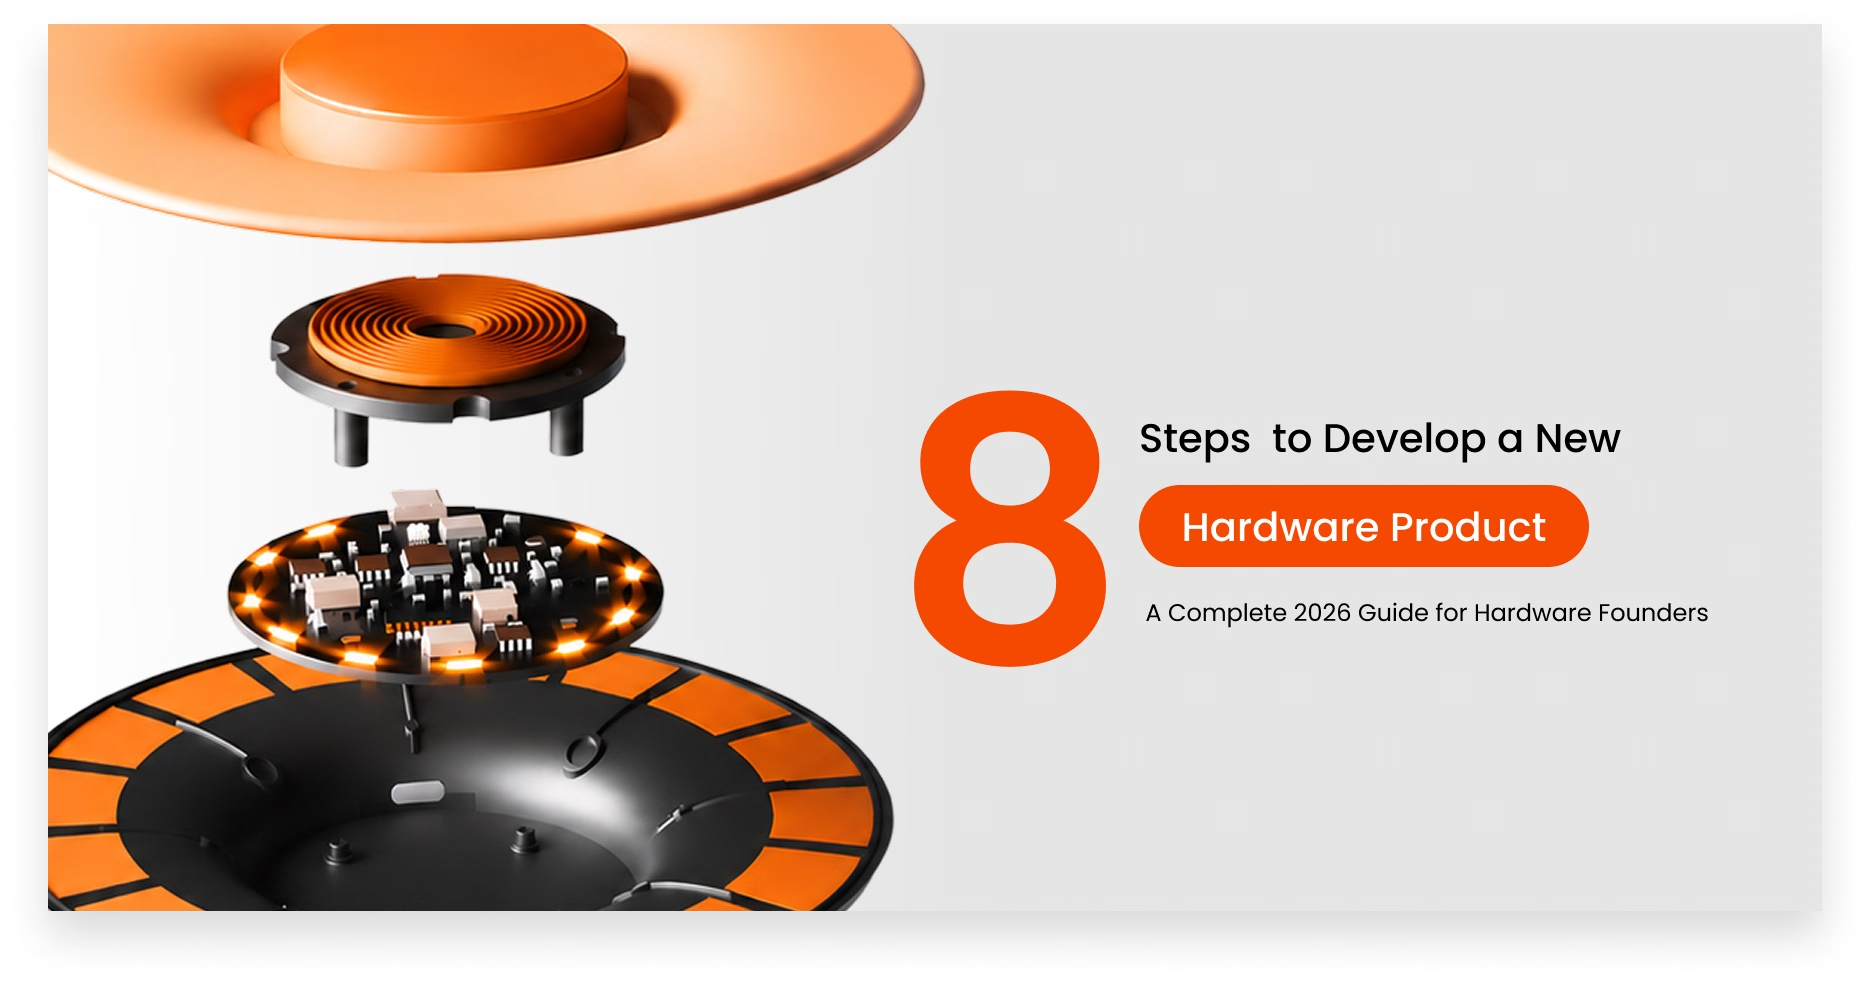
Developing a new hardware product takes eight steps: define the problem, concept design, engineering and CAD, prototyping, design for manufacturing, vendor selection and certification, packaging, and launch. For a simple product, expect 9–14 months and $75,000 or more from concept to manufacturing-ready; complex or regulated products take 20 months or longer.
Every step you get right early makes the next one cheaper; every step you skip comes back later at a higher price. This guide is written for founders building a first physical product and for teams bringing a second one to market.
What Is New Product Development for Hardware?
New product development is the full process of taking an idea from concept to a product that's manufactured, sold, and in the hands of real users. For hardware, that means design, engineering, prototyping, manufacturing preparation, and launch, all in sequence and all connected.
It's not a straight line. It's a series of decisions, each one narrowing your options and locking in costs. Material choices limit which factories can make the part. Tolerances set the tooling price. A certification you didn’t plan for can reopen the enclosure design. The earlier those decisions are made with the right information, the cheaper and faster everything downstream becomes.
That is the principle behind Product-Path™, the framework Analogy Design uses to take products from idea to market: reduce risk at every stage, not just at the end. The eight steps below follow the same logic. For a longer, stage-by-stage walkthrough, see how to build a hardware product from scratch.
Step 1: Define the Problem, Not Just the Product
Why it matters: Most founders arrive with a solution already in mind. That's natural: you've spotted a gap and you have an idea for filling it. But if you skip the problem-definition phase, you risk building a product that solves the wrong version of the problem, or solves it for the wrong user entirely.
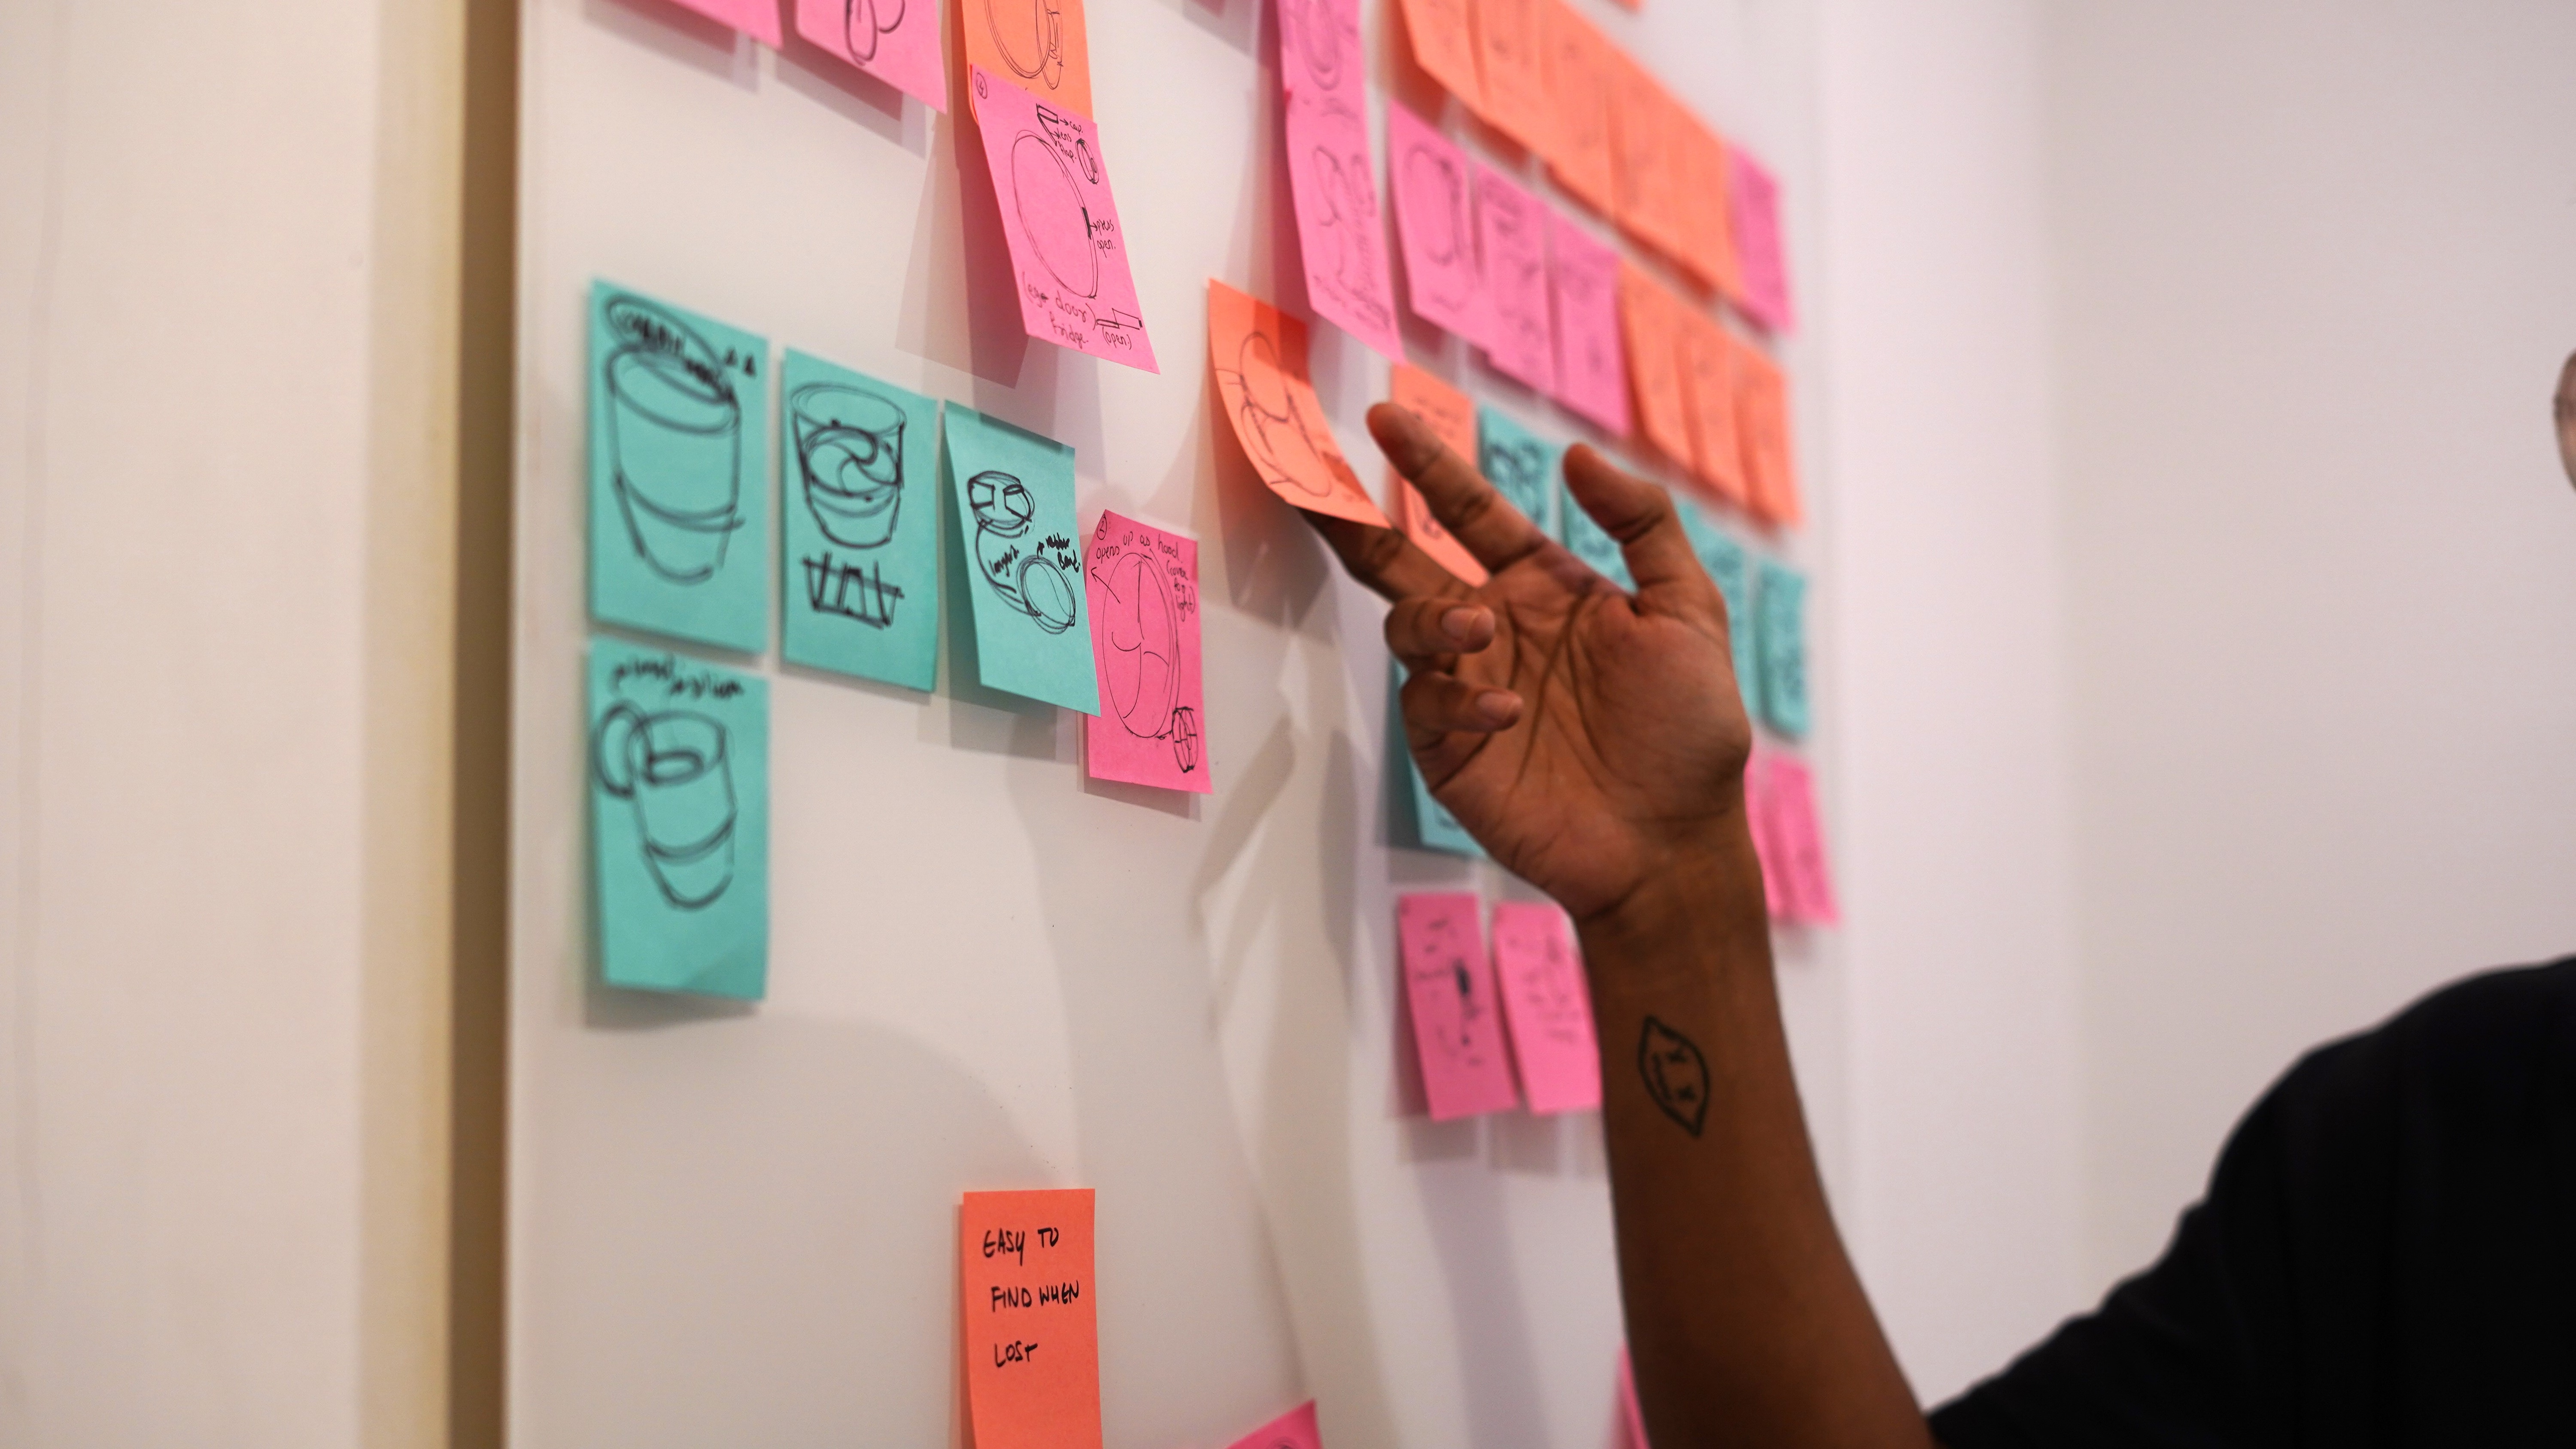
This step is about achieving what we call problem-solution fit. Before you sketch a single form, you need to be able to answer: Who has this problem? How often do they face it? What do they currently do instead? What would make them switch?
How to apply it: Run structured discovery sessions. Interview 10–15 people who represent your target user. Map their current behavior. Define the problem in one sentence that doesn't mention your product at all. List the certifications your target markets will require, because they shape the design from the start. Only then should you start defining what your product actually needs to do. Our guide to validating your hardware product idea covers how to turn those conversations into evidence.
Step 2: Concept Design: Form, Function and Identity
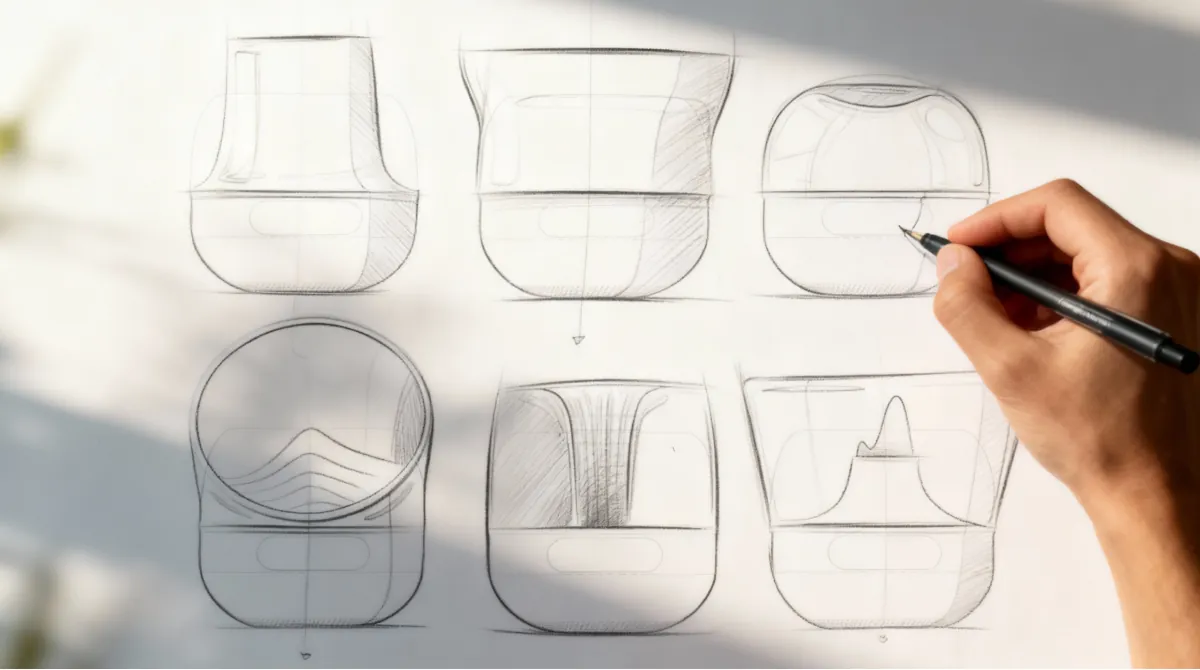
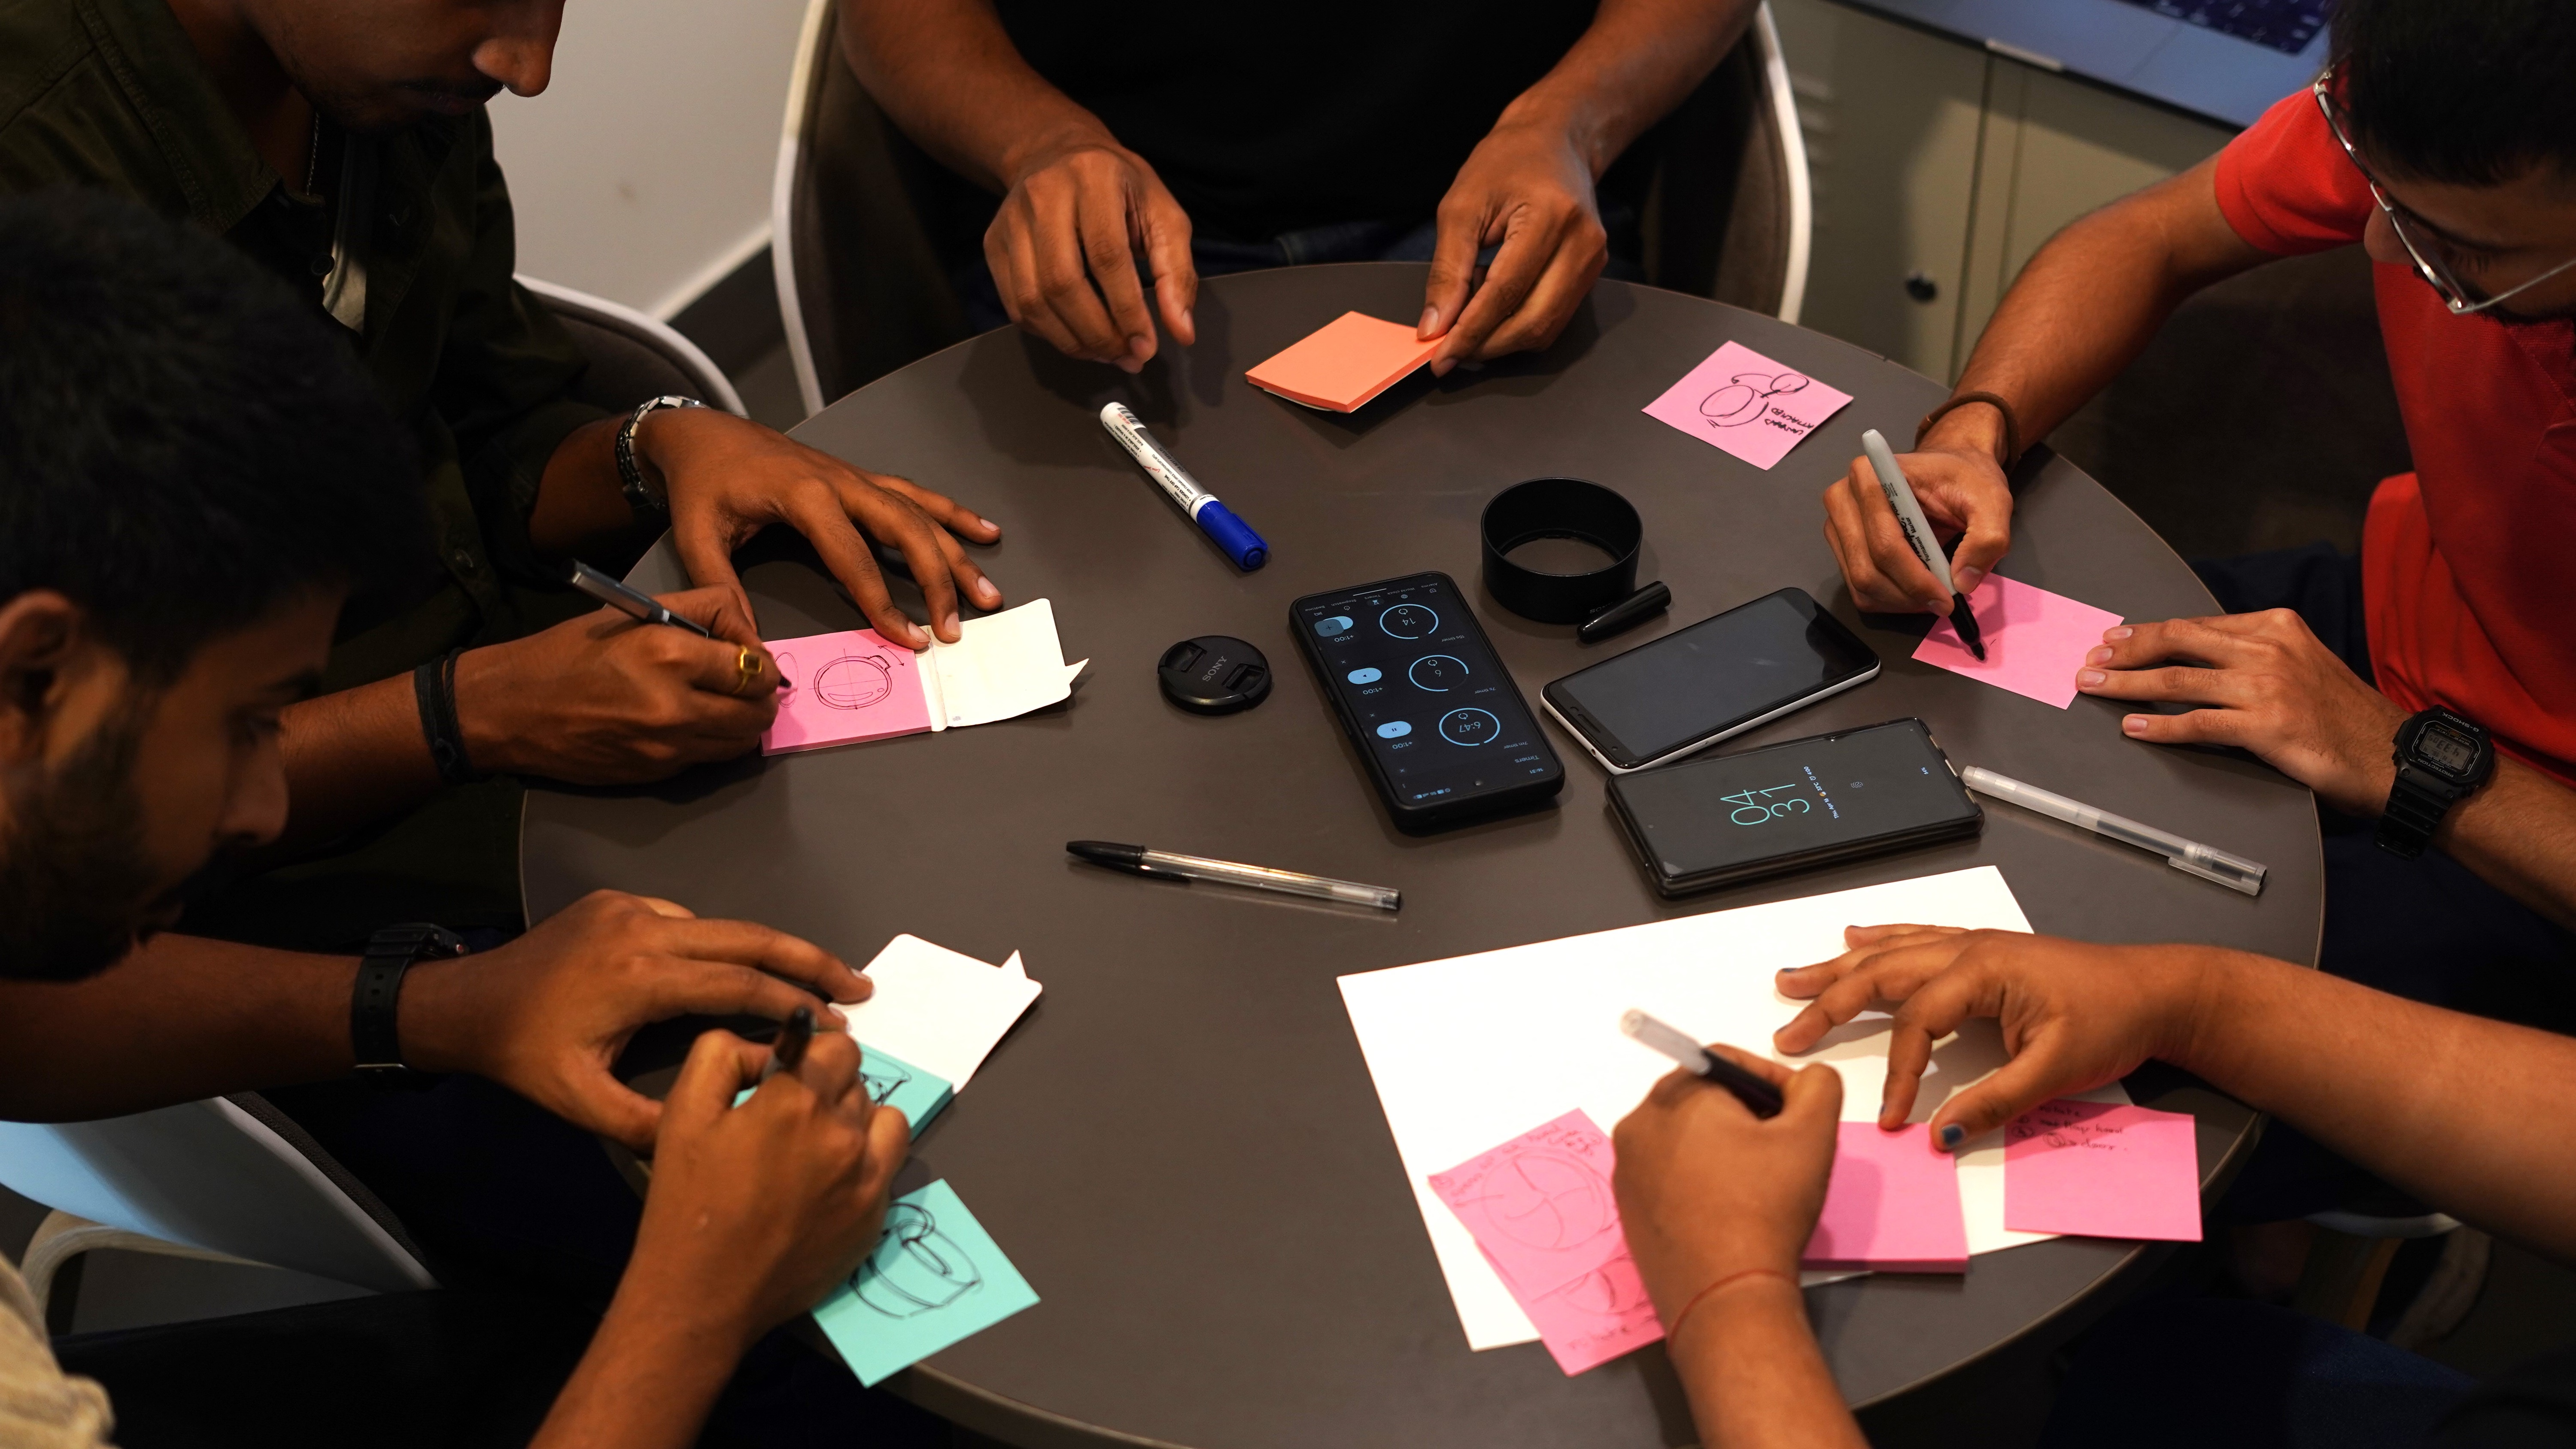
Why it matters: Concept design is where your product gets its character. This isn't just aesthetics. It's the definition of your product's form, color, material, and finish (collectively called CMF), along with its usability and visual identity. Decisions made here echo through every downstream phase. A poorly defined concept leads to an inconsistent design language, which leads to inconsistent engineering decisions, which leads to a product that feels unfinished.
This is also the phase where you establish what makes your product visually and experientially distinct. When the founders of Eume set out to make the world’s first massage backpack, the product had to do more than work: it had to look and feel unlike anything else in the backpack category. That distinction was set at the concept stage. See the Eume massage backpack case study.
How to apply it: Work with a design team to explore multiple concept directions before committing to one. Evaluate each against your user insights from Step 1. Define your CMF language explicitly: the materials, colors, and surface treatments that will carry through the entire product. This is also the right time to think about intellectual property (IP), meaning patents and design registrations that protect your concept before it becomes public.
Analogy’s concept design service is built around this stage.
Step 3: Engineering and CAD Development
Why it matters: Once your concept is defined, it needs to be engineered. That means translating your visual and functional intent into precise 3D geometry: CAD (computer-aided design) files that define every surface, wall thickness, joint, and mechanism. Engineering decisions made here determine whether your product can actually be built, what it will cost to manufacture, and how reliably it will perform in the field.
Rushing engineering is one of the most expensive mistakes a founder can make. It produces designs that look right in renders and fail on the factory floor.
How to apply it: Engage mechanical engineers alongside your industrial designers, not after them. Use CAD tools to simulate mechanisms and stress points before building anything physical. Define tolerances (the acceptable range of variation in each dimension) early, because they determine which manufacturing processes are viable. If your product involves electronics, this is also when you begin defining the PCB (printed circuit board) layout and how the electronics integrate with the physical enclosure.
Step 4: Prototyping and MVP Development
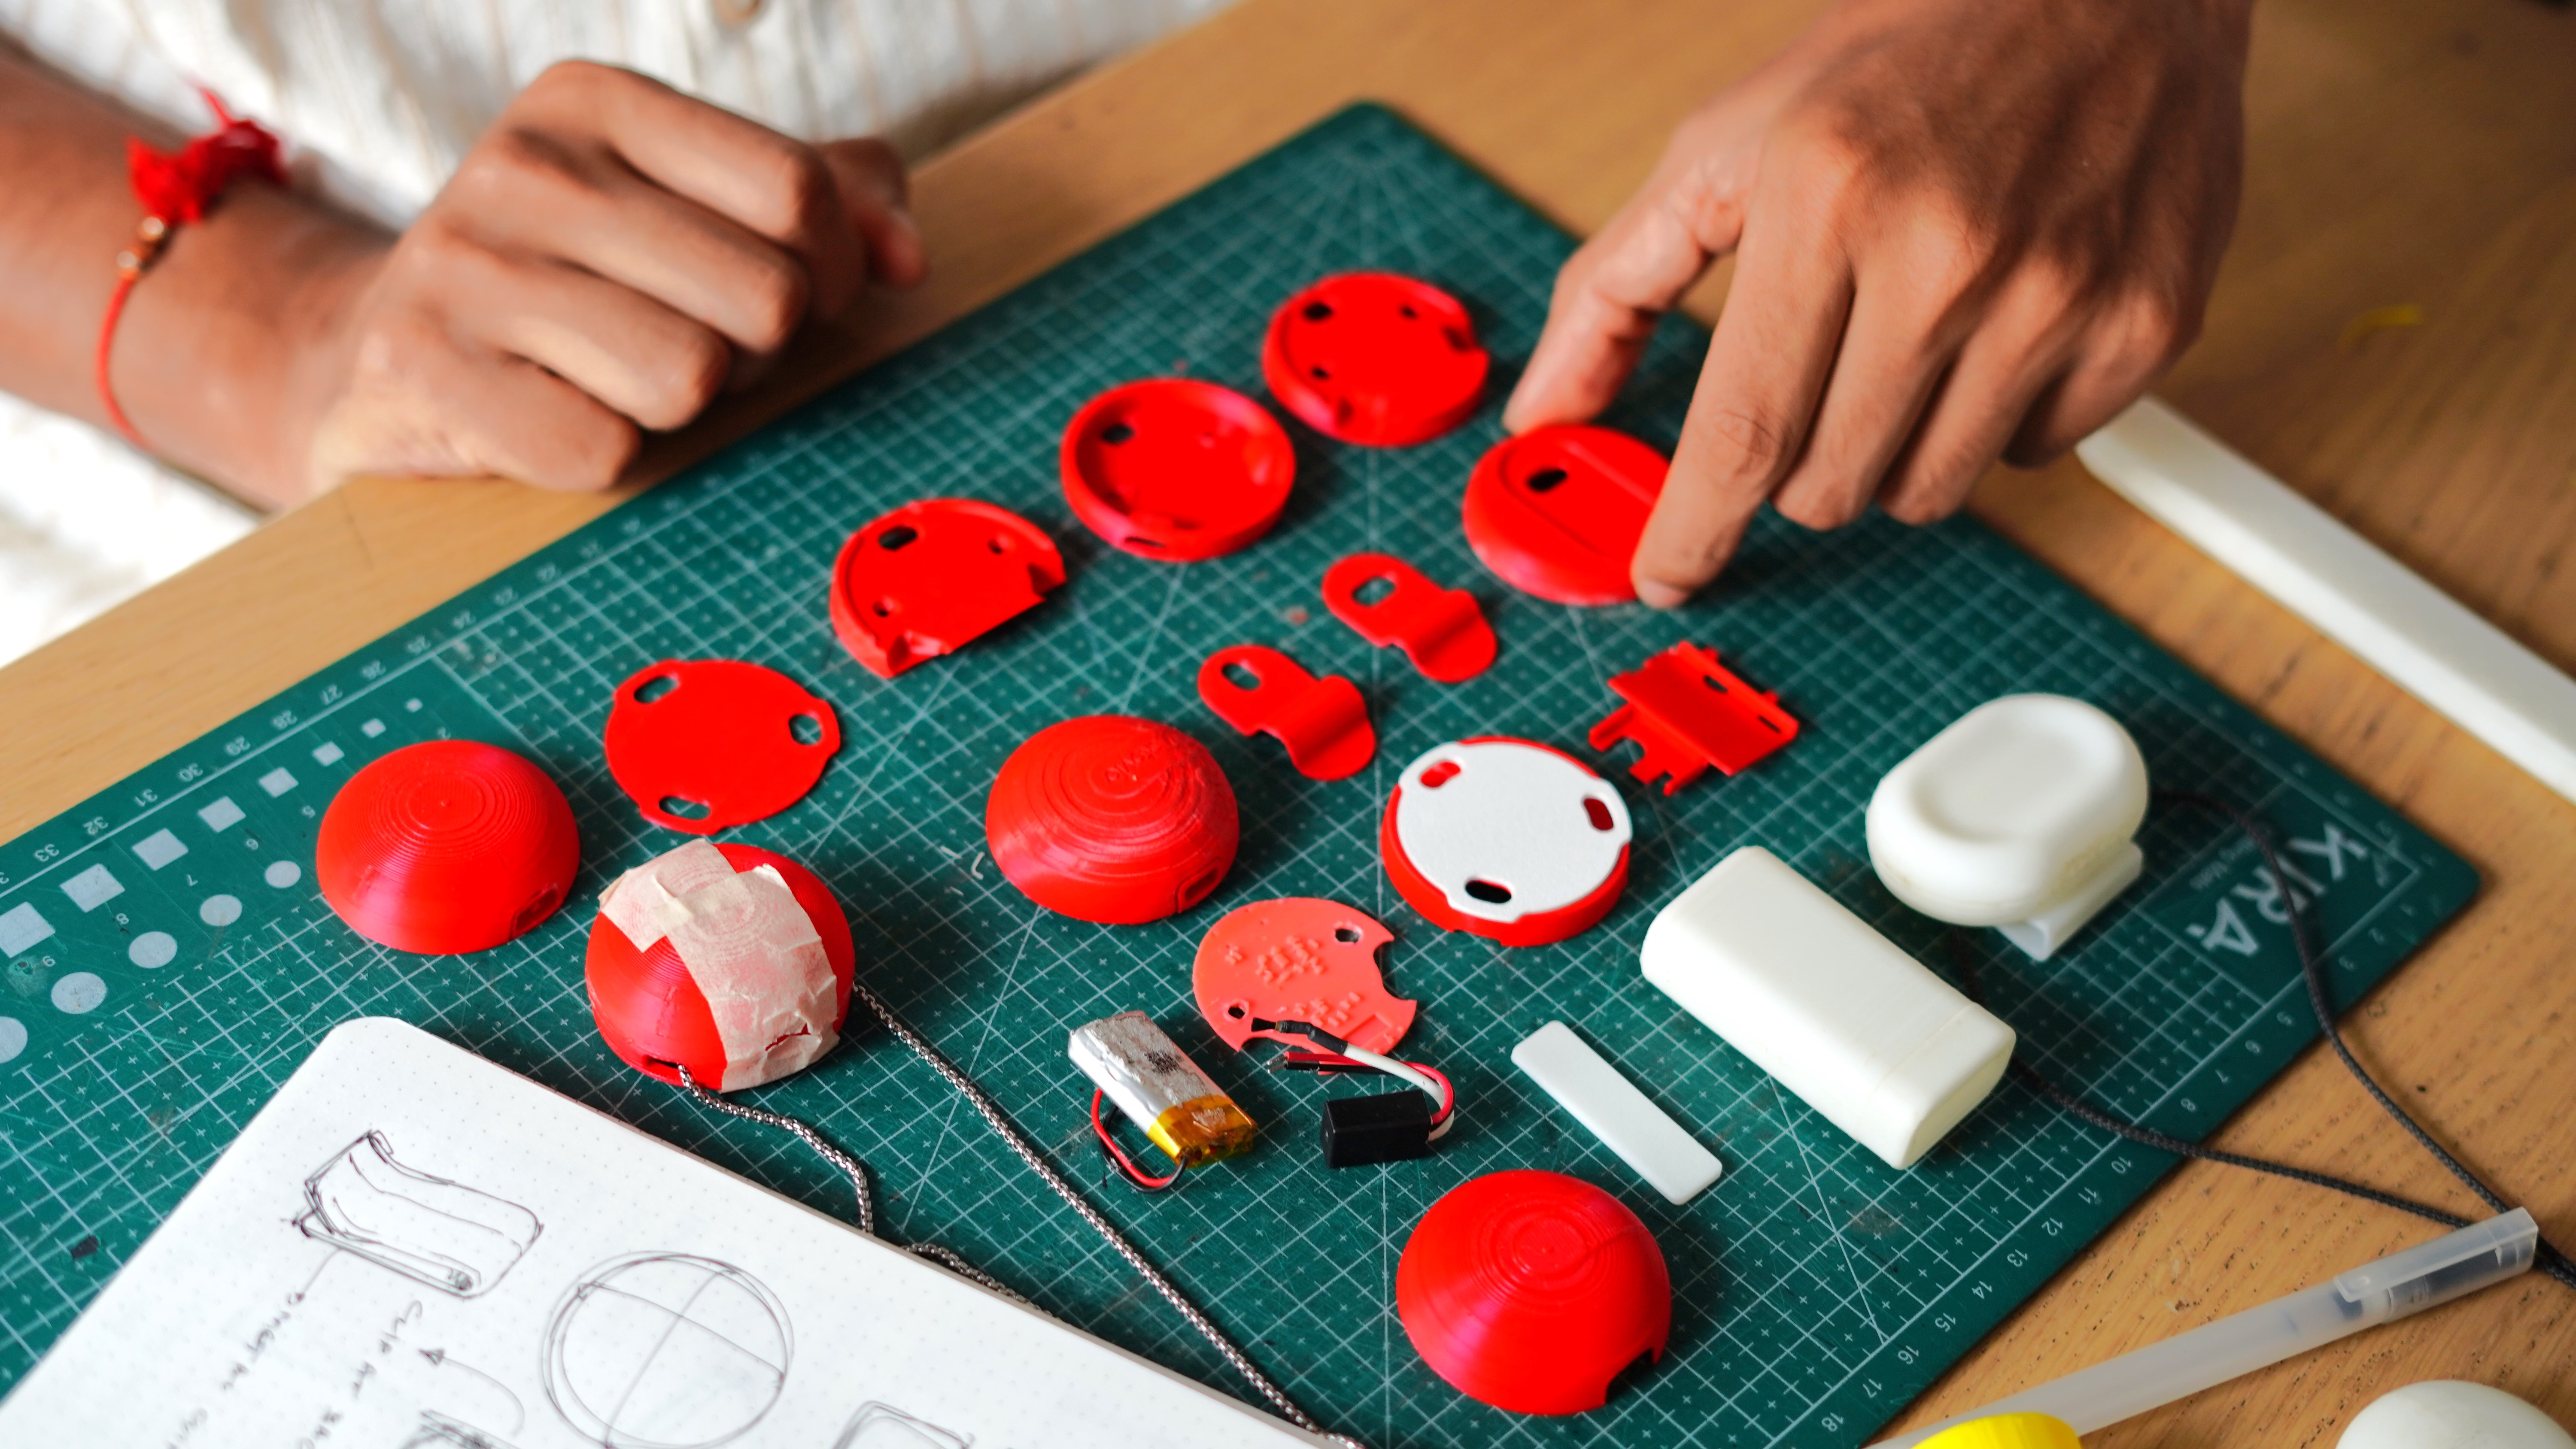
Why it matters: A prototype is a physical or functional model built to test a specific assumption. An MVP (minimum viable product) in hardware terms is the simplest version of your product that can be tested with real users and generate meaningful feedback. These are not the same thing, and conflating them leads to expensive prototyping loops.
Prototyping without a clear test objective is one of the biggest budget drains in hardware development. Every prototype should answer a specific question: Does this mechanism work? Does this grip feel right? Can this housing survive a one-meter drop?
How to apply it: Build your first prototypes using rapid methods such as 3D printing, CNC machining and laser cutting to test form and fit before committing to tooling. Plan for multiple rounds, each more refined than the last. Document what you're testing at each stage and what the results tell you. Our Prototype & MVP service is structured around exactly this discipline: testing assumptions in the right order so you're not spending money on the wrong ones. For what each prototype stage typically costs, see our prototype cost guide.
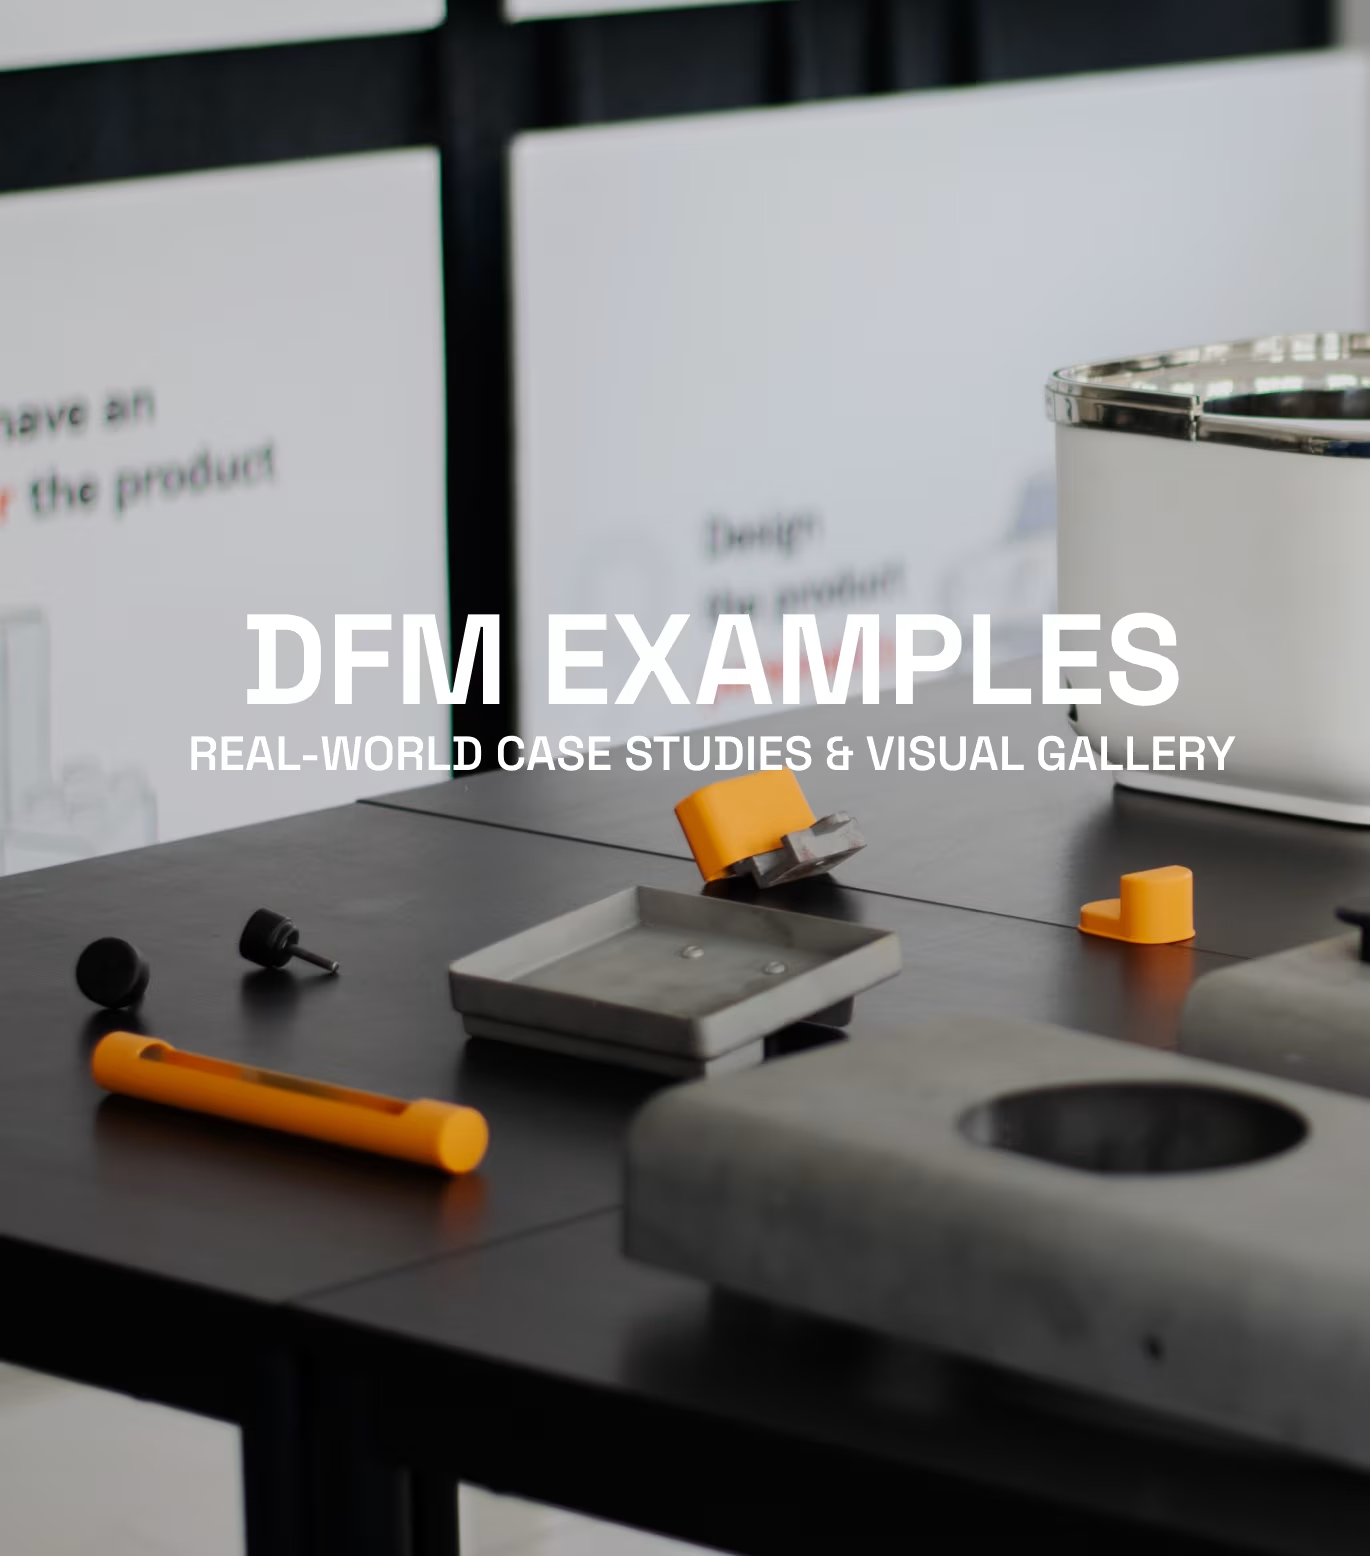
Step 5: Design for Manufacturing (DFM)
Why it matters: Design for manufacturing (DFM) is the process of refining your product's design so it can be produced efficiently, consistently, and at acceptable cost. It's one of the most underestimated steps in hardware development, and one of the most consequential. A design that looks perfect in CAD can be nearly impossible to manufacture at scale, or prohibitively expensive to tool.
DFM isn't a single review at the end of the design process. It's a discipline that should run parallel to engineering from Step 3 onward. The earlier manufacturing constraints are factored in, the fewer expensive revisions you'll face later.
How to apply it: Work with engineers who have direct manufacturing experience, not just design experience. Review your CAD files against the specific processes you're planning to use, because injection molding, die casting and sheet metal fabrication each have their own rules. Simplify geometries where possible. Reduce part count. Eliminate undercuts that require complex tooling.
Analogy’s design for manufacturing service draws on 150+ manufacturing partners, so the team knows what factories can actually produce, not just what they will agree to quote. Our DFM guide goes deeper.

Step 6: Vendor Selection, QC, and Certifications
Why it matters: Choosing the right manufacturing partner is a strategic decision, not a procurement exercise. The wrong vendor can delay your launch by months, deliver inconsistent quality, or hold your tooling hostage. Quality control (QC), the process of inspecting and testing manufactured units against defined standards, is what ensures that what ships to your customers actually matches what you designed.
Certifications are often treated as an afterthought, but they're a hard gate to market entry. Depending on your product category and target markets, you may need CE marking (European safety and compliance), FCC certification (US electromagnetic compatibility), BIS certification (India), or others. Missing a certification doesn't just delay your launch; it can make your product unsellable in an entire region.
How to apply it: Start vendor conversations early, ideally during the DFM phase, so manufacturing constraints can inform your design in real time. Develop a QC plan that defines acceptable tolerances, sampling rates, and failure criteria before production begins. Map your certification requirements by market from the start of the project. Certification timelines can run 8–16 weeks for some categories, so factor that into your launch schedule from day one. For what certification typically adds to a budget, see our hardware product development cost guide.
Step 7: Packaging and Brand Touchpoints
Why it matters: Packaging is the first physical experience your customer has with your product. It communicates quality, brand values, and care before the product is even out of the box. For hardware, it also serves a functional role: protecting the product during shipping, organizing accessories, and communicating setup instructions clearly.
Founders routinely underinvest in packaging because it feels like a detail. It isn't. For consumer hardware especially, unboxing is a moment of brand formation. Getting it right builds trust before the product is even switched on.
How to apply it: Design packaging in parallel with the product, not after it. Define your materials and structure early enough to include them in your cost-of-goods calculations. Think through the unboxing sequence: what the customer sees first, second, third. Make sure your packaging meets the requirements of your logistics and retail channels, including any drop-test standards required by major retailers or e-commerce platforms.
Step 8: Launch Support and Go-to-Market
Why it matters: A product that's manufactured but not successfully launched is a warehouse problem, not a business. Launch support, or commercialization, is the move from production to market: coordinating logistics, managing first-production quality reviews, supporting retail or platform onboarding, and handling the inevitable surprises that come with a first production run.
Many founders treat launch as the finish line. It's actually the starting line of a new set of problems. How you handle the first 90 days of market availability shapes your reviews, your return rates, and your ability to raise a next round.
How to apply it: Build a launch checklist that covers logistics, customer support readiness, warranty and returns policy, and a plan for collecting and acting on early user feedback. If you're launching on a crowdfunding platform or through retail, understand their specific requirements and timelines. Analogy’s launch support service covers the stretch from final production to first customer.
Analogy took the Sleepmaxxer sleep mask for GeniYes from concept to Kickstarter-ready hardware in 8 months.

How the 8 Steps Map to the 10 Product Development Stages
Our 10 Steps in Hardware Product Development guide breaks the same journey into ten finer stages. Here is where each one sits.
| Step in this guide | Stages in the 10-stage guide |
|---|---|
| 1. Define the problem | Idea generation and screening; Research and market analysis; Business planning (starts here) |
| 2. Concept design | Concept development |
| 3. Engineering and CAD | Design and prototyping (design) |
| 4. Prototyping | Design and prototyping (prototyping); Testing and validation |
| 5. Design for manufacturing | Manufacturing (design for production) |
| 6. Vendors and certification | Manufacturing (choosing manufacturers); Testing and validation (certification) |
| 7. Packaging | Marketing strategy (branding) |
| 8. Launch | Product launch; Post-launch management |
Common Mistakes Founders Make at Each Step
Knowing the steps isn't enough if you repeat the mistakes that derail most hardware projects. Here are the most common ones, mapped to where they occur:
- Step 1 & 2: Skipping user research and jumping straight to aesthetics. The result is a product that looks good but doesn't solve a real problem compellingly.
- Step 3: Treating engineering as a separate track from design. When designers and engineers don't work together, the handoff creates rework.
- Step 4: Prototyping without a test objective. Each prototype round should answer a specific question, not just "does it look right?"
- Step 5: Leaving DFM until the design is "finished." By then, the cost of changes is significantly higher.
- Step 6: Selecting vendors on price alone. The cheapest factory is often the most expensive mistake.
- Step 7 & 8: Treating packaging and launch as afterthoughts. Both require lead time and planning that most founders underestimate.
Our guide to common hardware startup mistakes covers these in more depth.
In-House or With a Product Development Studio?
The founders who succeed at hardware make the decisions above at the right time, with the right information and a team that has made them before.
If your team already has industrial designers, mechanical engineers and manufacturing relationships, you can run most of these steps in-house. Most first-time hardware founders don't have all three, and a mistake caught late in tooling or certification usually costs more than specialist help would have.
When you assess a partner, look for three things. First, design and engineering working as one team from concept onward. Second, real manufacturing relationships rather than a list of vendors. Third, shipped products in categories close to yours. Since 2015, Analogy Design has worked on 250+ products with 80+ founders, who have raised $65M+. The studio works with 150+ vetted manufacturing partners in India and China and has won 24 design awards, including Red Dot and iF. Clients range from first-time founders to Panasonic, Google, Unilever and Maersk. Explore our product development services or see our work.
How Long Does Product Development Take?
From concept to manufacturing-ready, a simple hardware product typically takes 9–14 months, a moderately complex one 14–20 months, and a complex or regulated product 20 months or more.
| Phase | Typical duration |
|---|---|
| Problem definition and concept design | 4–8 weeks |
| Engineering and CAD | 6–12 weeks |
| Prototyping rounds | 8–16 weeks |
| DFM and vendor selection | 4–8 weeks |
| Tooling | 6–12 weeks per tool |
| First production run | 4–8 weeks |
| Certification testing | 8–16 weeks |
| Launch preparation | 4–8 weeks |
Several phases overlap, which is why the total is shorter than the column added up. DFM runs alongside engineering, and certification testing runs alongside tooling. Founders who skip steps don’t go faster; they go back. For a stage-by-stage breakdown, see our 10-stage hardware product development process.
How Much Does It Cost to Develop a New Hardware Product?
These are the ranges Analogy uses when scoping projects, based on 250+ products since 2015.
Developing a hardware product from concept to market-ready typically costs $75,000–$400,000, depending on complexity, materials and volume. Industrial design and concept work usually runs $15,000–$75,000, engineering $25,000–$150,000, prototyping and testing $10,000–$50,000, and manufacturing preparation $15,000–$75,000.
Two costs are often missing from quotes. Certification can add another $10,000–$50,000. Tooling and molds can cost $15,000–$100,000 or more per mold, separate from development fees. The biggest driver of overruns is prototyping that repeats because DFM was left too late. Our hardware product development cost guide breaks down every phase and how to budget for it.
Glossary of Key Terms
CAD (computer-aided design): Software for building precise 3D models of a product. The CAD file is the master reference for manufacturing.
CMF (color, material, finish): The specification of how a product looks and feels in the hand.
DFM (design for manufacturing): Designing a product so it can be made efficiently, consistently and at the target cost.
MVP (minimum viable product): In hardware, the simplest fully working version of a product that real users can test.
Tooling: The molds, dies and fixtures used in mass production. A major upfront cost, largely fixed once made.
QC (quality control): The inspection and testing that confirms manufactured units meet defined standards before they ship.
IP (intellectual property): Legal protection for a product’s design and technology, such as patents and design registrations.
PCB (printed circuit board): The board that holds and connects a product’s electronic components.
Ready to build?
Tell us what you're building.
We'll tell you where the real risks sit in your specific product and what it would take to ship it, concept to production.